Raised beds are ideal for gardens where the soil is too heavy to dig easily or doesn’t suit the plants you want to grow. With a raised bed, you can control your ground, and the soil never gets compacted because there’s no need to walk on the bed. Raised beds are also suitable for anyone who finds working at ground level difficult. Here’s a step-by-step guide to making your own raised bed.
What Is a Raised Bed?
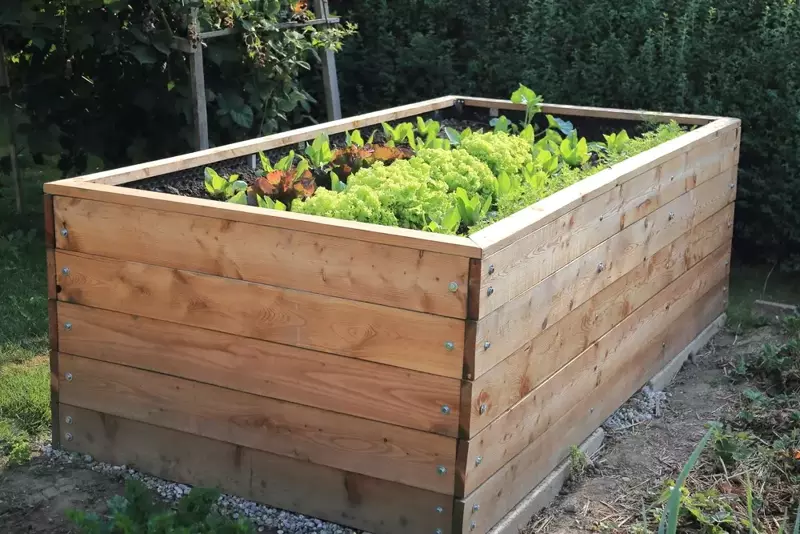
A raised bed is a rectangular framework of low walls filled with soil and compost. You can use bricks or wooden panels to make the sides of your raised bed. Decking boards or new, untreated railway sleepers are ideal, or you can buy raised bed kits containing pre-cut lengths of wood.
Positioning Your Raised Bed
Before making your raised bed, think about its size and position. If you’re planning to grow vegetables or herbs, choose a sunny site and orientate your bed north-south so that the whole bed receives an even amount of sunlight with minimum shadowing. Make sure you can comfortably reach all parts of the bed from the edge. If you are making more than one raised bed, allow space between them for kneeling and wheelbarrow access.
How to Make a Raised Bed
- Clear the area where the raised bed is to go, removing turf and getting rid of all weeds. Dig the site over to a depth of around 30cm (1ft) and level it off, removing any big stones.
- If you are making your own raised bed from wooden planks, mark out the corners of the bed with square wooden posts hammered into the soil so that the tops of the posts are slightly lower than the final height of your raised bed. Use string and a setsquare to check that the corners are at right angles. If the sides of your bed are more than 3m long, add extra posts along these sides for additional support. Use long screws to fix the wooden panels to the posts to create a rectangular frame.
- Line the inside face of the wooden panels with plastic sheeting to stop wet soil from coming into contact with the wood – this will prolong the life of the bed. Don’t line the base of the bed, as this will affect drainage.
- Fill the bed with a mix of topsoil and compost. The mix will vary depending on what you want to plant, but a 50/50 mix of peat-free multipurpose compost and topsoil is an excellent place to start.
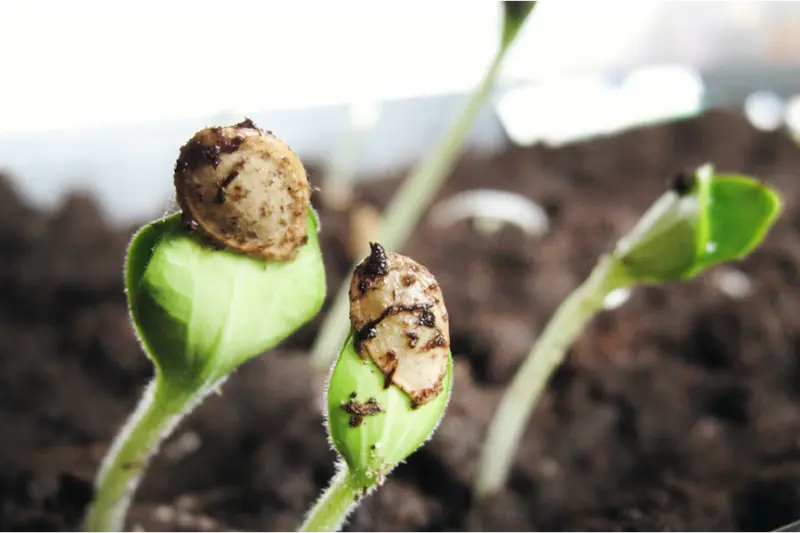
- Leave the bed for a week or two to give the compost time to settle. Top up if necessary, and you’re ready to plant or sow seeds!
You’ll find a great range of seeds, plants, and compost in our centre to get your raised bed started. Visit us today – our staff is always happy to help!


